
Setting up Single Sign On (SSO) with Okta
This guide walks you through the process of setting up Single Sign-On for Leave Dates using Okta.
Single Sign-On enables your staff to use a single password for all their applications, eliminating the need to log in separately to different systems.
How to configure single sign-on with Okta
- Log in to Leave Dates using your admin account.
- Navigate to the Settings > Integrations page
- Click the Add Single Sign On button within the Single Sign On section
- Select OneLogin as the Provider
- Provide a Company domain for the login process (e.g.
https://companyname.leavedates.com). Choose something memorable and easy to type, such ascompanyname. It will be used later to automate the login process. You won't be able to change this later, so choose wisely. If you are not asked for this, that is because you have previously entered a subdomain which will be used. - Open a new tab in your browser and log in to your Okta account. Navigate to the Admin dashboard. You will be using the Leave Dates tab again later.
- Take a note of the address in your browser. It will be in the form https://123456-admin.okta.com/... This will be used later in the setup process as the Base URL.
- Click Applications and then Browse App Catalog.
- Search for Leave Dates, select it and then click Add integration.
-
You will now be shown a form (as below) for the application settings. Leave the Application label as Leave Dates and add the SubDomain you created in step 5.
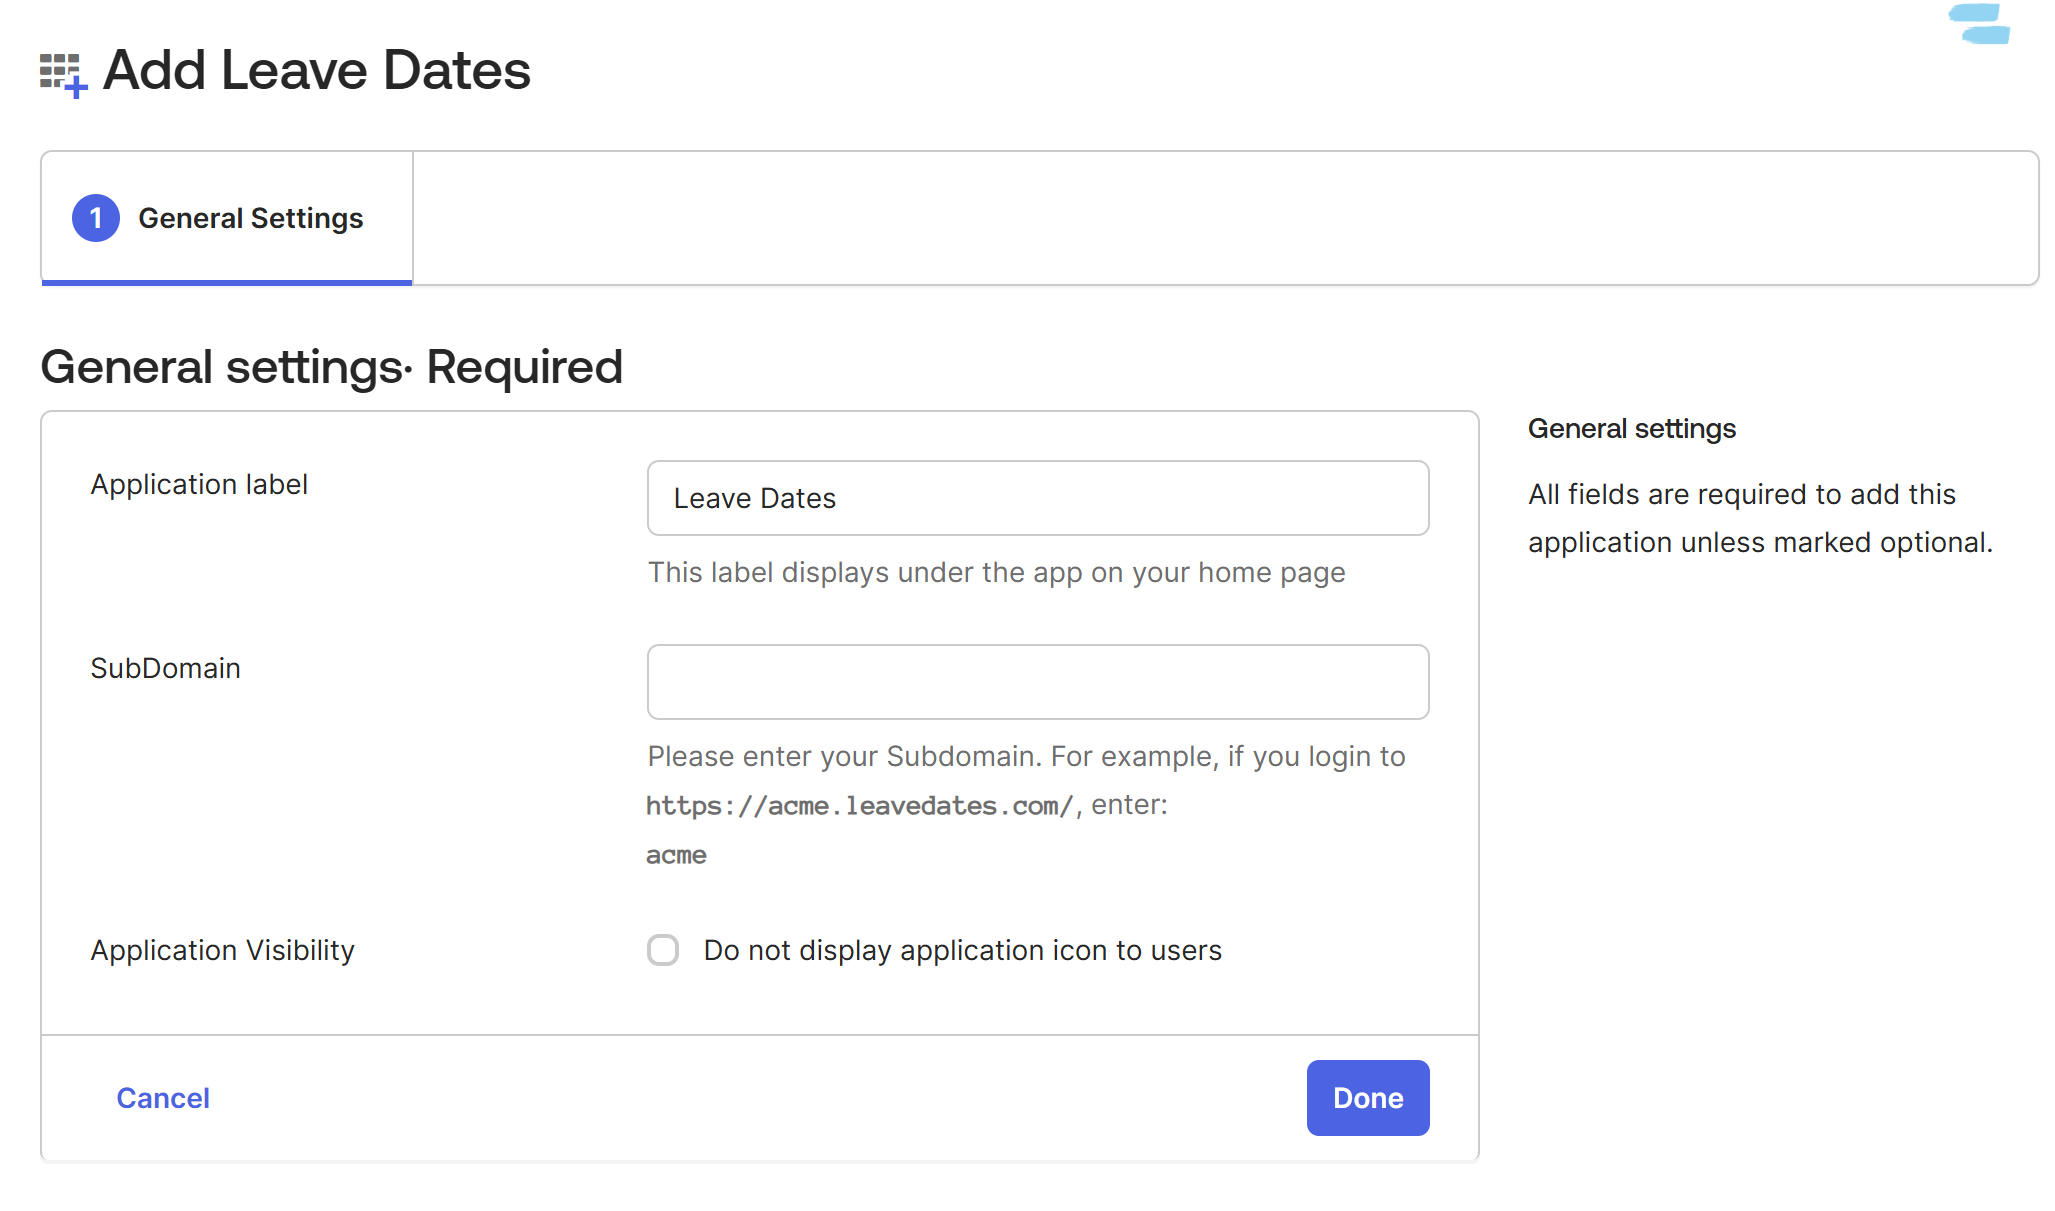
- Click Done to finish the process.
- You have now created the application in Okta.
-
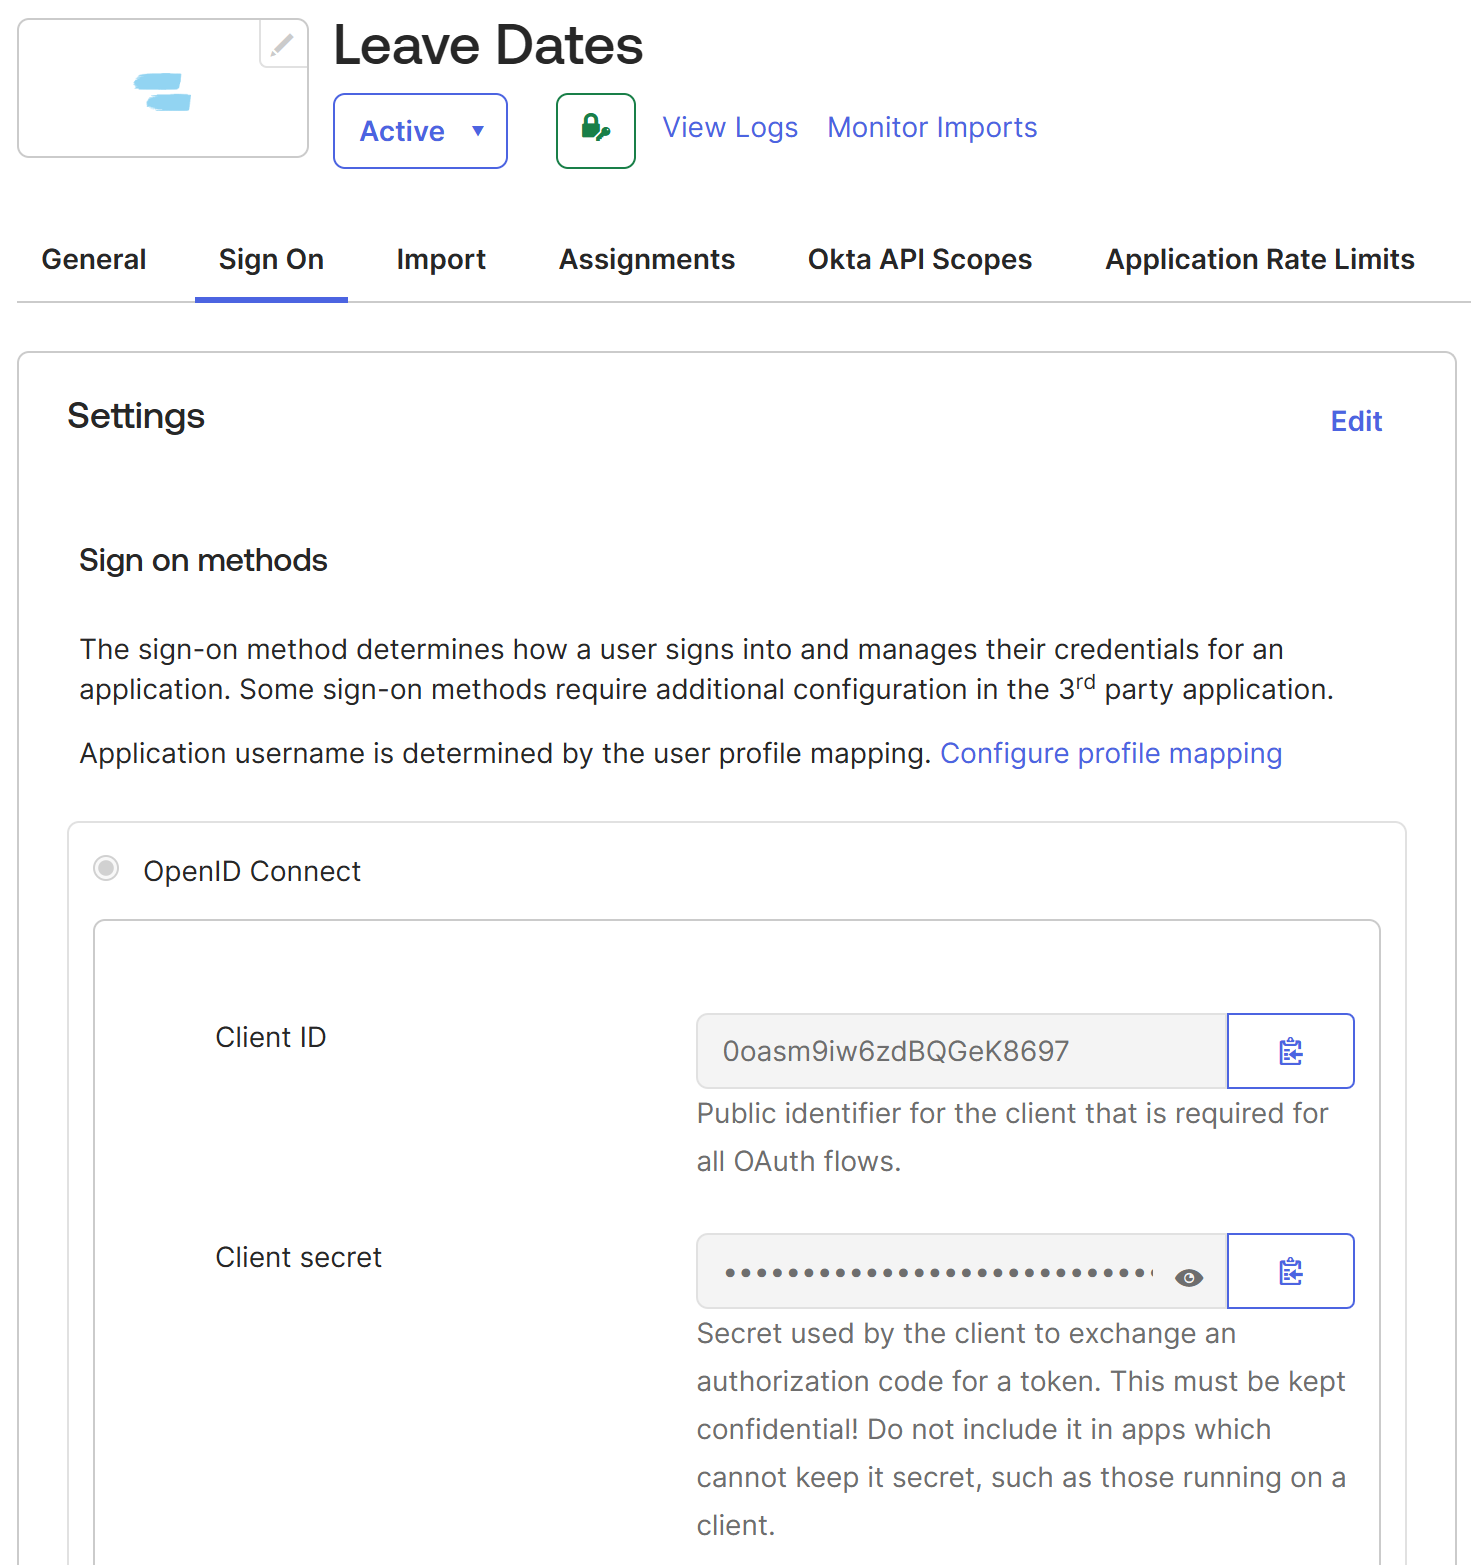
Go to the Sign On tab in Okta and copy the Client ID and Client secret from this page.
- Revert back to the Leave Dates browser tab and select Okta as the Provider
- Enter the Base URL as previously recorded from your Okta dashboard. This should be something like https://123456.okta.com
- If there is -admin in the URL, remove it
- Remove any spaces at the end of the URL
- Paste in the Client ID and Client secret (created earlier in Okta)
- Press Create
-
An entry will be added to the table, as shown below.
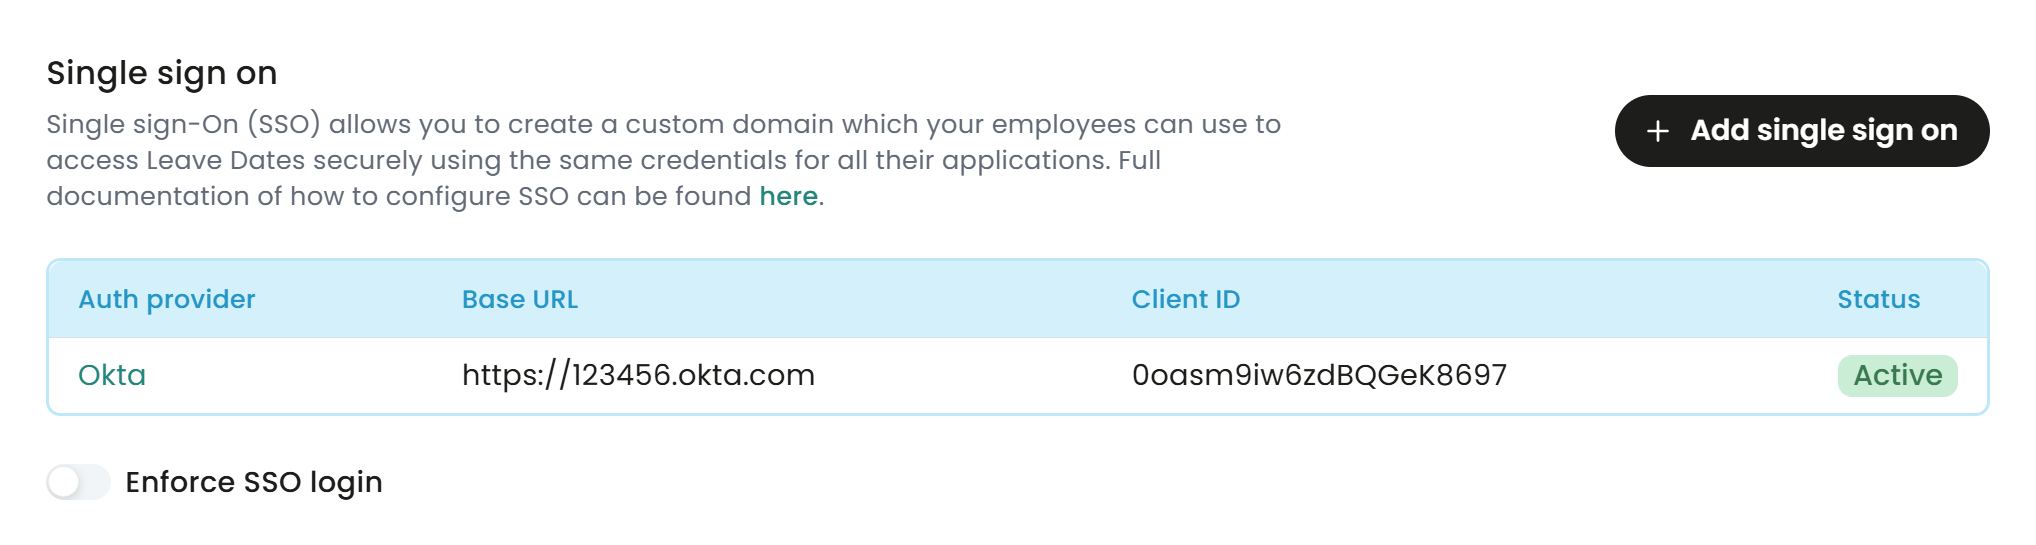
- Click the row to open the details panel.
- The Login URL link shown in the details panel can be used as a direct link for logging into Leave Dates using Single Sign On.
- Everything is now configured to allow you to log in to Leave Dates using Okta SSO.
-
The Enforce SSO login option can be turned on to prevent users from using password login, and force them to use SSO login. If this option is disabled, then users will be able to use both SSO login and password login.


Further considerations
- Users will need to be created in Leave Dates using the same email address as configured for Okta.
- Users will need to be invited to use Leave Dates by an admin user, and create an account in Leave Dates using the non-SSO approach (which includes creating a password). This gives them the flexibility to use password login as well if they choose. Users can only log in using SSO once an account has been created in Leave Dates.
- Users must be assigned to the Leave Dates application within the Okta Portal. This can be performed in the Assignments area of the Okta admin portal.
- Logging out from Okta will not log you out from Leave Dates.