
Manage departments
With Leave Dates, you can organise employees in departments. Departments often represent teams or groups in your organisation. There's no limit to the number of departments you can create, but each employee can belong to only one department at a time. You can move employees between departments whenever needed.
Departments also determine:
- Who approves leave (approvers and followers), and
- What employees can see on the wall chart (Leave visibility)
In this article
Add a new department
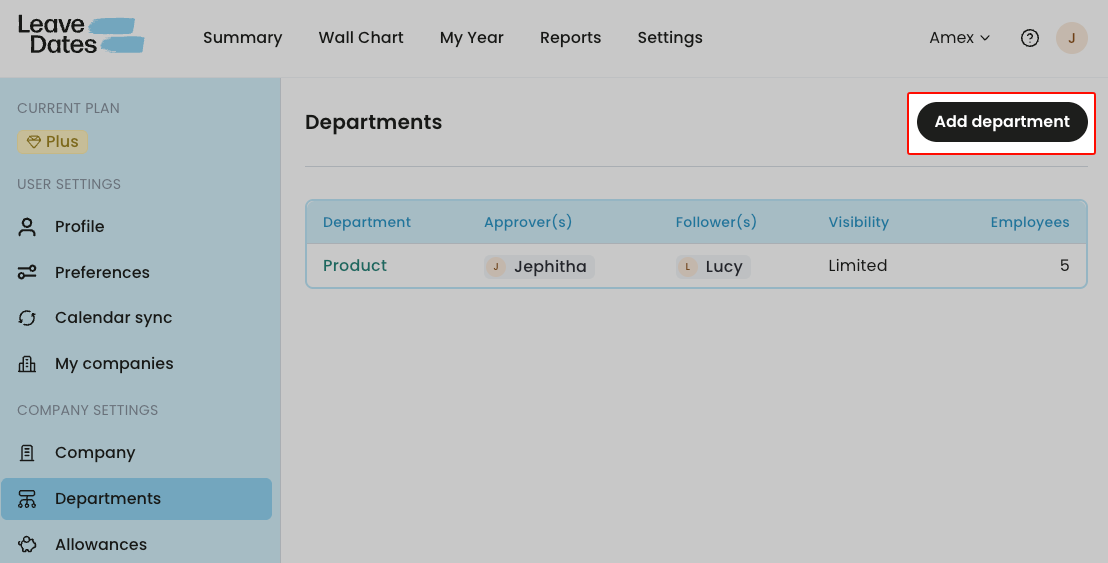
Admins can create new departments in Settings > Departments.
- Go to Settings > Departments.
-
Select Add department.
-
Enter a name for the new department.
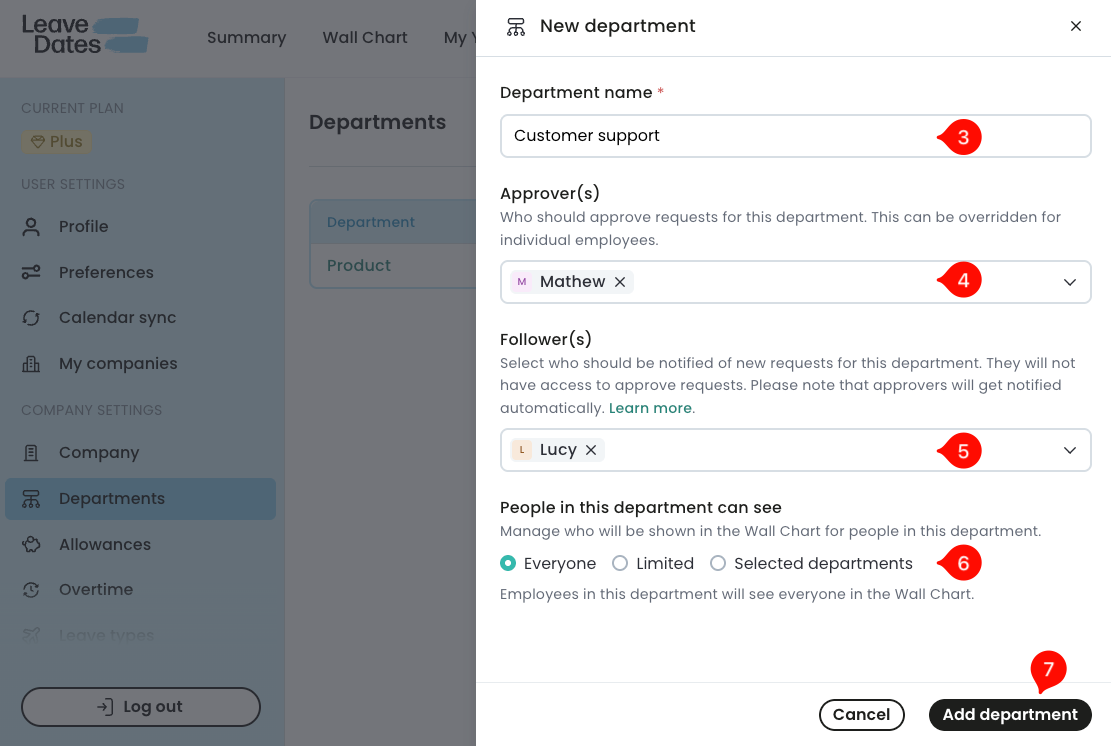
- In Approver(s), select the person or people who can approve or decline leave requests for employees in this department.
-
In Follower(s), select the person or people who should be notified when employees submit leave requests.
Followers receive the same notifications as approvers and can view leave request details such as dates, description, and attached files.
- Set wall chart visibility for employees in the department:


- Everyone - employees in the department can view leave requests from across all departments. However, they can't view leave requests from hidden employees. See user roles and permissions.
- Limited - employees in this department can only see leave requests from others in their own department and themselves. They can't see leave requests from other departments.
- Selected departments - employees in this department will only see their own leave requests and requests from people in the selected departments. You can select one or more departments if you choose this option.
- Select Add department to save.
Note that approvers and followers can always see leave requests for departments they are assigned to, regardless of their own department. Admins can view leave requests for everyone.
Update an existing department
Admins can update the department name, list of approvers and followers, and wall chart visibility.
To update a department,
- Go to Settings > Departments.
- Select the department name to open the details.
-
Make the required changes to the name, approvers, followers, and visibility.
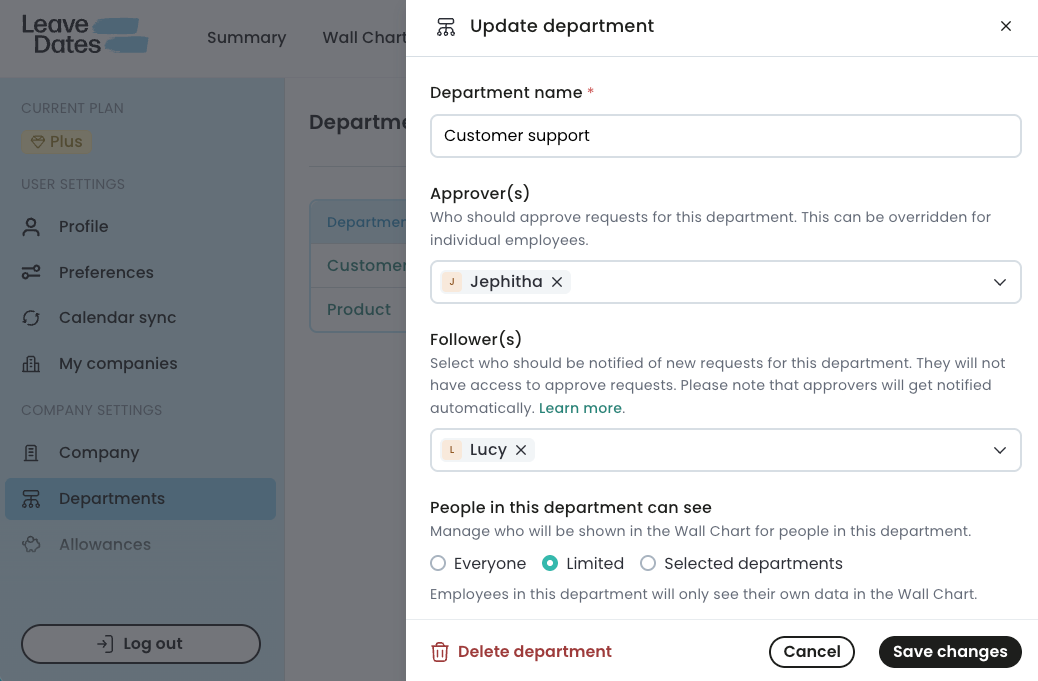
- Select Save changes.

Delete a department
If you no longer need a department, you can delete it from Leave Dates to clean up your space and stay organised. You can't recover deleted departments and care should be taken to not delete departments that you actually need.
Before you delete, review emoployees in that department and either:
- Reassign employees to another department, or
- Delete employee accounts if they no longer work with you
To delete a department,
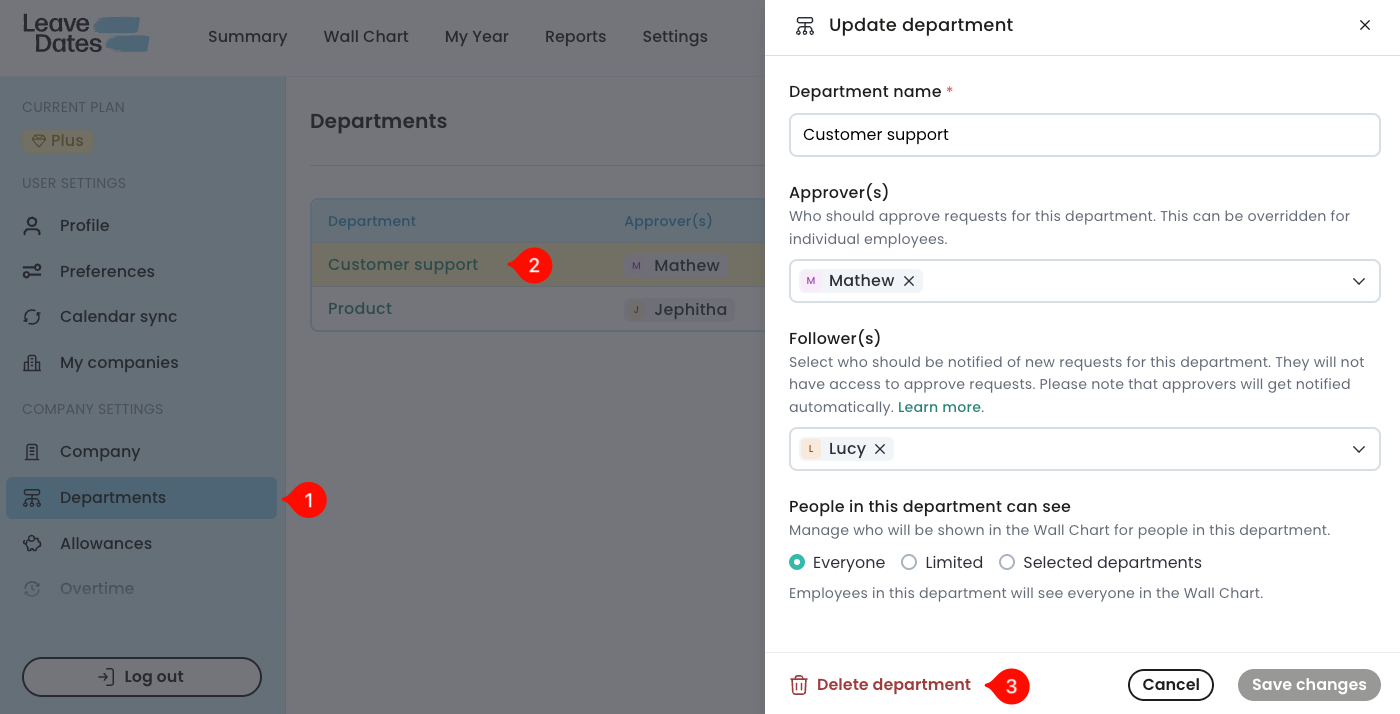
- Go to Settings > Departments.
- Select the name of the department you want to delete.
-
Select Delete department.
-
Review the warning message including the number of employees currently assigned to the department if applicable.
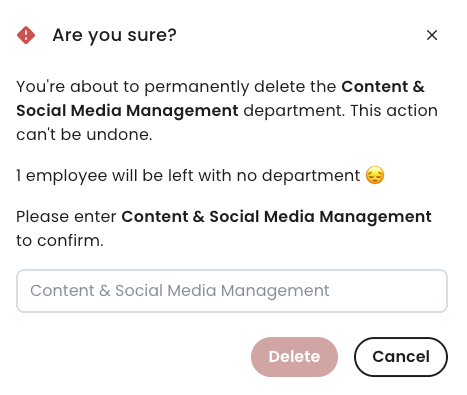
- Type the name of the department, then select Delete to confirm deletion. In this step, the department name is case sensitive and the spaces and special characters must match.


If you delete a department, its employees will be left without a department. Unassigned employees may not have leave approvers, which can prevent their leave requests from being approved.
You can reassign employees to another department or set new approvers in the employee profile.